Your heating and cooling system take a huge beating every winter and the very best way to ease its use and spare money is learning how to caulk your windows. Chill air tends to make its way through the glass, giving our heating systems a much tougher time to do its job. The most effective way to overcome those chilling breezes is by caulking your windows.
Caulking windows is one of the simplest and most straightforward ways of improving the energy effectiveness of your home. It is likewise one of the most popular ways to winterize your home. Although window caulking is perhaps the fastest DIY project, some homeowners are new to this mission and may find it a little bit of difficult, you might also find it hard to caulk and like a lot of people you might consider to replace your house windows. That’s why in this article you will get a few tips so you can make your caulking easier. That is why we have created our step-by-step guide for caulking windows. Before you know it, you will be caulking your windows like a professional.
When to Caulk

Homeowners can apply caulk to any window type or. While we would all really like to wait up until winter season, caulking windows is suitable in the fall. Caulk adheres to warmer temperatures (around 40 degrees) and you will most likely be opening up the windows as you finish the project. If you are focusing on saving energy, you don’t want to open your windows in the winter season. The best time of year to caulk is during the dry season when there is the least amount of moisture and precipitation. The sealer sets efficiently and adheres best when the temperature level is 45 degrees or more. Fall is usually the preferred month to accomplish this task and usually takes a day or much less to completely seal each of your home’s windows.
Types of Caulk
There are a variety of different types of caulk, but many homeowners go with latex or silicone caulk. While latex caulk is easier to apply and can be painted, silicone is a lot more resilient and can withstand extreme temperature levels. touch on, caulk frequently needs to be cleared away and latex caulk is much easier to detach.
Get Rid of Old Caulk
Exactly as you would clean up a wall before adding a new coat of paint, the surface needs to be cleaned up before any caulking can take place. So as to do that, homeowners will usually have old lines of caulk around their window. The old caulk must be removed before applying a new layer of caulk. Use a scraper or utility knife to get rid of all old caulk and debris. Then, clean the surface area as you would any wall.

If you detect a dirt spot on your window while you remove the old caulk, look into hiring a window cleaning specialist. The average price for professional window cleaning is $202.
Buy A Caulk Gun
Caulk is not like toothpaste. You can’t easily absolve it through squeezing. You need a caulk gun to seal off your window like a pro.
How To Caulk
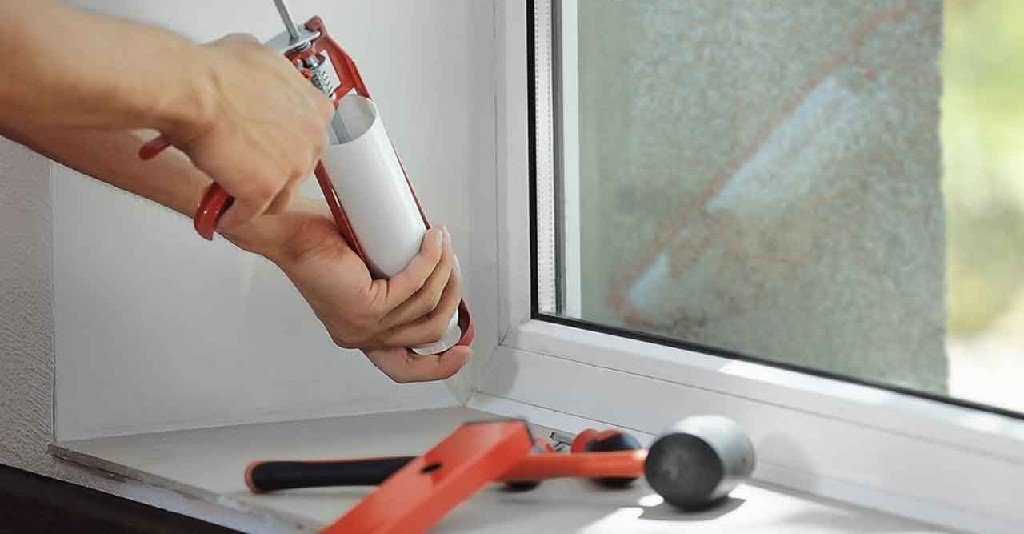
We first need to stuff the actual caulk into the caulk gun. Remove the tip of the caulk at a 45-degree angle. This is the angle in which the caulk is going to be released. Many caulk guns will have a pin to further puncture the hole. After that, drag back the trigger and put the caulk in the chamber, adding the backside first. Push the trigger forward until the caulk is completely in position. You are caulk.

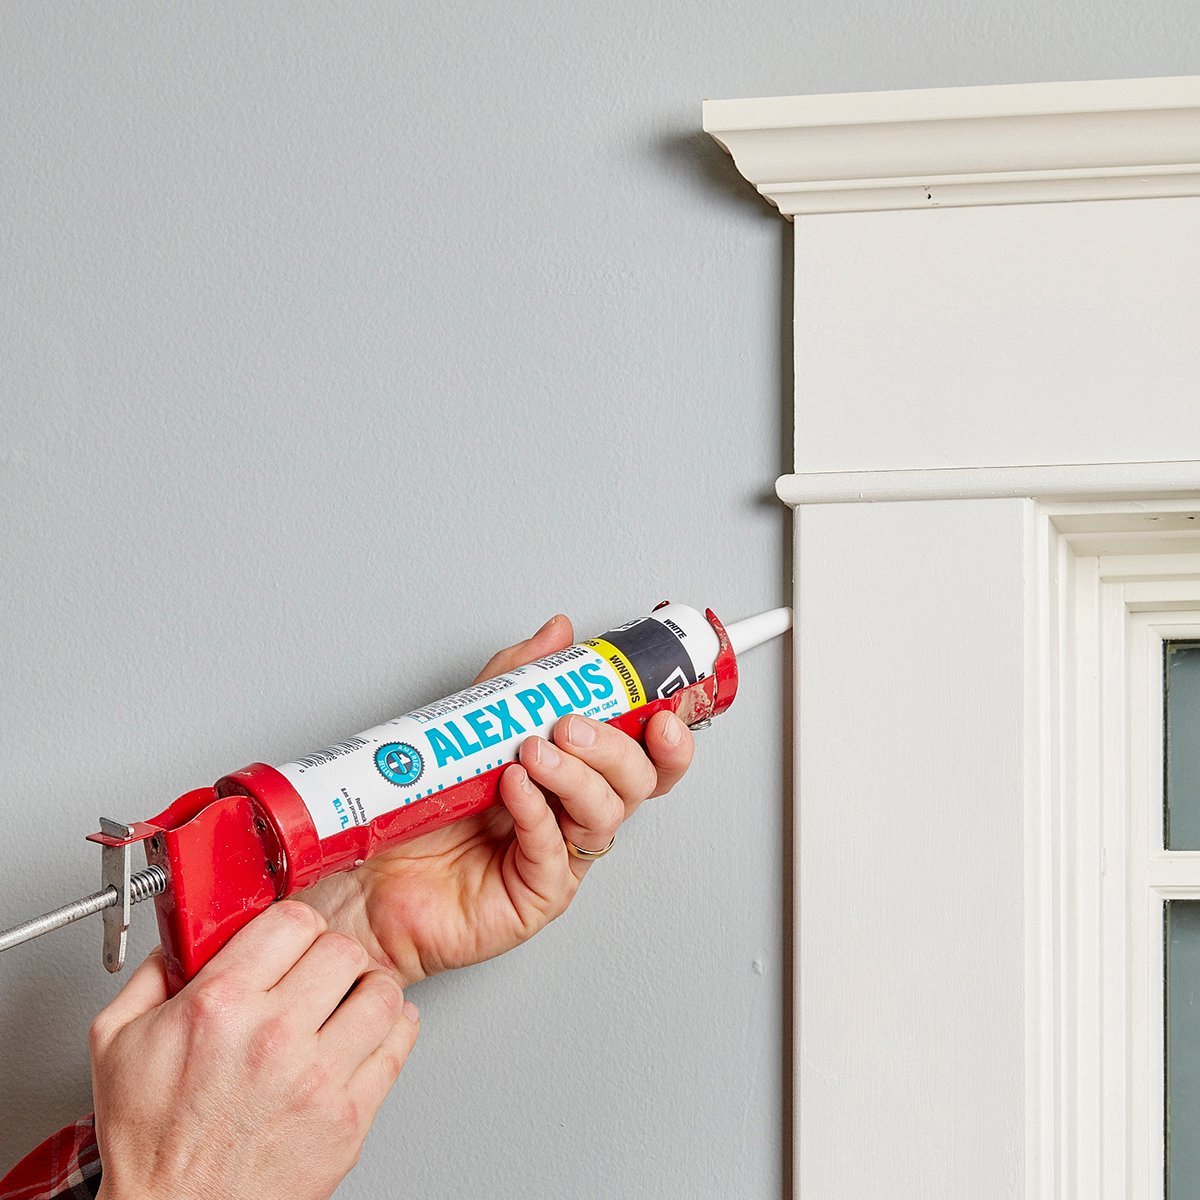
Add a thin layer of caulk around your window, holding the gun over a 45-degree angle. You need to cover all areas where air can leak through. The resulting line or square of caulk is called bead. When you are caulking your windows, make sure to always smooth out the bead with a wet finger. This will certainly keep everything even, looking as if an expert did it.
When you are finished, make sure to cap the nozzle, as you will most likely not use the rest of the caulk.
Final thought
Caulking windows is one of the simplest and most straightforward ways to improve the energy effectiveness of your home. It’s a great money-saver and easy DIY project to take on.


